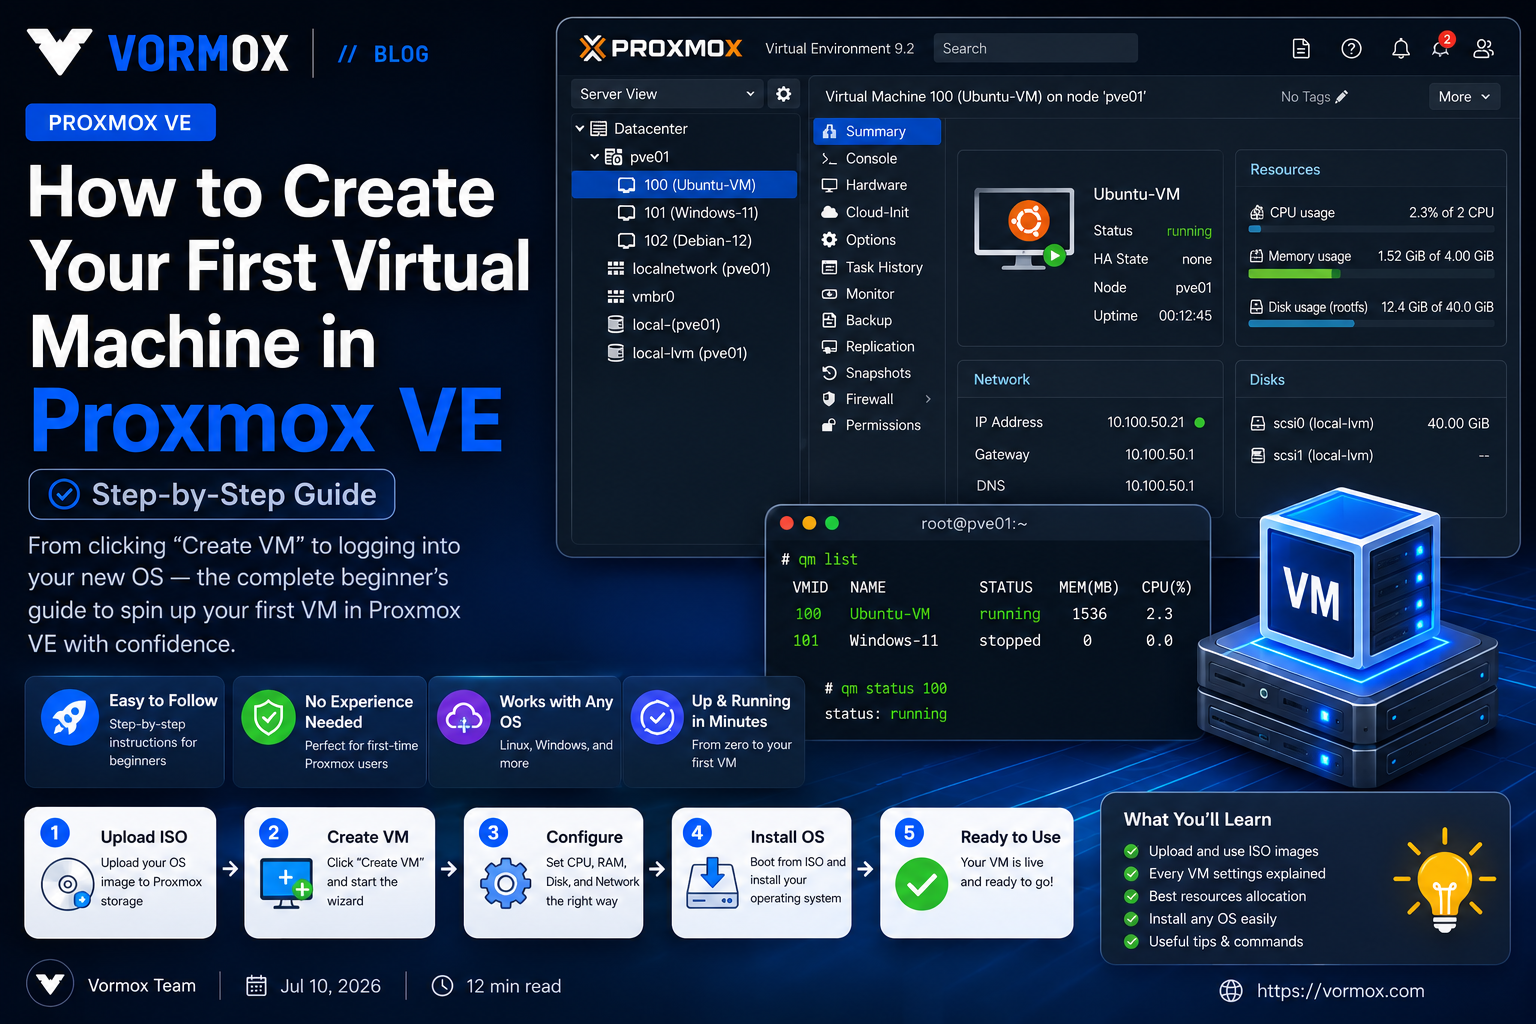
So you've got Proxmox VE installed and you're staring at the web interface, wondering what to click next. That's exactly where most people are the first time they open this thing. The dashboard looks clean, but it doesn't hold your hand, and the word "VM" on its own doesn't tell you much if you've never run one before.
This guide walks you through creating your very first virtual machine in Proxmox VE, from clicking Create VM to logging into a freshly installed operating system. No prior virtualization background needed. You'll understand what each setting does before you touch it, not just which button to click.
What You Will Learn
- What a virtual machine actually is and how Proxmox runs one
- How to upload an installation ISO to your Proxmox server
- How to work through the Create VM wizard, tab by tab
- Which settings matter for a beginner and which you can safely ignore
- How to boot your new VM and finish the OS installation
- The handful of
qmcommands worth knowing if you ever want to skip the web UI
What Is a Virtual Machine?
A virtual machine, or VM, is a fake computer that runs inside a real one. Proxmox VE uses a hypervisor called QEMU/KVM to carve up your server's CPU, RAM, disk, and network into a separate environment that behaves exactly like standalone hardware. The guest operating system inside has no idea it's not running on physical metal.
This is different from a container (LXC), which shares the host's Linux kernel instead of pretending to be its own machine. A VM can run Windows, BSD, or a completely different Linux kernel version than your Proxmox host. A container can't do that — it has to run Linux, and it shares the same kernel as the host. If you've ever wondered "VM or container?", that kernel boundary is usually the deciding factor.
Under the hood, Proxmox stores your VM as a configuration file (a small text file listing CPU count, memory, disks, and so on) plus one or more virtual disk images. That's it. No mysterious black box.
Why Would You Use It?
Maybe you want to test a new Linux distro without touching your main system. Maybe you're running a Windows app for work and don't want it anywhere near your home network directly. Maybe you're a developer who needs three different environments — a database server, a web server, and a reverse proxy — and you don't want to install all of that on one machine and pray nothing conflicts.
VMs solve all of that by giving each workload its own isolated space. If one VM crashes, gets a botched update, or gets compromised, it doesn't take the others down with it. You can also snapshot a VM before making risky changes, and roll it back in seconds if something goes wrong — try doing that with a bare-metal install.
Honestly, for a homelab, this is the whole point of running Proxmox in the first place. One physical box, many separate machines living on it.
Prerequisites
Before you start, make sure you've got:
- A working Proxmox VE installation (this guide was written against 9.2, but the wizard looks and works almost identically back through the 7.x and 8.x series)
- Access to the web UI, usually at
https://your-server-ip:8006 - An ISO file for the operating system you want to install — a Ubuntu Server or Debian netinst ISO works well for your first try
- At least 20 GB of free storage and 2 GB of spare RAM on the host, just to have room to breathe
- A network connection on the host, since your VM will need one too
You don't need a second physical machine, a fancy switch, or any networking knowledge beyond "plug it in." The default settings Proxmox ships with are enough to get a VM online.
Step-by-Step Tutorial
Step 1: Upload an ISO Image
Before you can install anything, Proxmox needs the installer image sitting on local storage.
- In the left-hand tree, click your node name (the server itself, not "Datacenter").
- Click local (your-node-name) in the storage list, then open the ISO Images tab.
- Click Upload, select the ISO file from your computer, and click Upload again to confirm.
Depending on your connection, a 1.5 GB Ubuntu Server ISO takes a couple of minutes. Watch the progress bar at the bottom right of the screen — it's easy to miss and think nothing is happening.
Step 2: Start the Create VM Wizard
Click the blue Create VM button in the top right corner of the web UI. A dialog box opens with a row of tabs across the top: General, OS, System, Disks, CPU, Memory, Network, and Confirm. You move through them left to right, and Proxmox validates each tab before letting you move to the next.
Step 3: General Tab
Here you set:
- Node — which physical server hosts this VM (only matters if you have a cluster)
- VM ID — a unique number Proxmox uses internally; the next free one is filled in automatically and you almost never need to change it
- Name — a human-readable label like
ubuntu-webserver, so you don't end up with five VMs all called "VM 103"
Give it a real name now. Future-you will thank present-you when there are a dozen VMs on this box.
Step 4: OS Tab
Select Use CD/DVD disc image file (iso), then pick the ISO you uploaded from the storage dropdown. Below that, set the Guest OS type and version — for example, Linux and 6.x - 2.6 Kernel for a modern Debian or Ubuntu install. This setting quietly adjusts a few defaults elsewhere in the wizard, so it's worth getting right even though it looks cosmetic.
Step 5: System Tab
This tab controls the virtual hardware around the VM:
- Graphic card — leave it on the default (std) unless you specifically need SPICE remote display
- Machine — 440FX is the default and works for almost everything; only switch to Q35 if you need PCIe passthrough later
- BIOS — SeaBIOS is the classic legacy option and fine for most Linux installs; pick OVMF (UEFI) if you're installing Windows 11, which requires it
- Qemu Agent — tick this box now. It enables a small guest-side helper that lets Proxmox talk to the VM properly (clean shutdowns, IP address reporting). You'll still need to install the agent package inside the guest OS later, but flipping this switch now saves you a step.
Step 6: Disks Tab
Set the disk size in GB — 20 GB is plenty for a lightweight Linux server, more if you're installing Windows or storing data on it. Leave the Bus/Device setting on VirtIO SCSI single if it's available; if not, SCSI is a solid second choice. Skip IDE and SATA unless you're dealing with an old guest OS that doesn't ship VirtIO drivers.
Tick Discard if your underlying storage is an SSD or NVMe drive and supports thin provisioning — it lets the guest tell the host "this block is free now," which keeps disk usage honest over time.
Step 7: CPU Tab
Set Cores to 2 if you're not sure what your workload needs. You can always bump this up later without reinstalling anything. Leave Type on the default unless you're doing something that specifically needs "host" CPU type — that option exposes every instruction set your physical CPU supports, which is faster but blocks live migration to a different CPU model down the road.
Step 8: Memory Tab
Enter how much RAM the VM gets, in MiB. 2048 (2 GB) is a sane starting point for a basic Linux server. Leave Ballooning Device enabled — it lets Proxmox reclaim unused memory from an idle VM and hand it to one that actually needs it, instead of locking RAM away permanently.
Step 9: Network Tab
Leave the bridge on vmbr0 (the default virtual network bridge Proxmox creates during install) and the model on VirtIO (paravirtualized). This connects your VM straight to your LAN, same as any other device, and gets you close to full network speed. NAT mode exists too, but it's really only useful for isolated testing — skip it unless you have a specific reason.
Step 10: Confirm and Start
The last tab shows a summary of every setting you just picked. Glance over it, tick Start after created if you want it to boot immediately, and click Finish. Proxmox builds the VM in a few seconds — it's just writing a config file and allocating the disk, so there's no lengthy provisioning wait like you'd get from a cloud provider.
Step 11: Install the OS
Click on your new VM in the left panel, then open the Console tab. You'll see the ISO booting, exactly like sitting in front of a physical machine with a USB installer plugged in. Walk through the installer as normal. Once it's done and the VM reboots, go back to the Hardware tab and remove the CD/DVD drive (or just change the boot order) so it doesn't try to boot the installer again next time.
Commands Explained
Everything above can also be done from the shell using qm, Proxmox's command-line tool for managing VMs. You won't need this for your first VM, but it's worth knowing these exist:
| Command | What it does |
|---|---|
qm create 105 --name test-vm --memory 2048 --cores 2 --net0 virtio,bridge=vmbr0 | Creates a new VM with ID 105, 2 GB RAM, 2 cores, and one network interface on vmbr0 |
qm set 105 --scsi0 local-lvm:20 | Adds a 20 GB disk on the local-lvm storage to VM 105 |
qm set 105 --ide2 local:iso/ubuntu-24.04.iso,media=cdrom | Attaches an ISO as a virtual CD drive so the VM can boot the installer |
qm start 105 | Powers the VM on |
qm status 105 | Shows whether the VM is running or stopped |
qm config 105 | Prints the VM's full configuration, useful for double-checking settings |
qm list | Lists every VM on the node with its ID, name, and status |
If you ever want to reproduce a VM exactly, or automate creating a dozen of them, this is where you'd start instead of clicking through the wizard each time.
Common Errors
A few things trip up almost everyone the first time around:
- "No such image" or the ISO doesn't show up in the OS tab — the upload probably finished after you opened the wizard. Close it and reopen Create VM so it re-reads the storage list.
- VM boots straight to an empty shell or "No bootable device" — the install finished, the CD drive is still first in the boot order, and there's no disc mounted anymore. Check the Options tab under the VM and fix the boot order, or just detach the CD/DVD drive.
- Console shows a black screen and nothing else — this is almost always the display type. Switch it from std to something else, or just wait a few extra seconds; some installers take a moment to paint the first frame over noVNC.
- Network doesn't come up inside the guest — older guest OS images sometimes lack a VirtIO network driver. Either install the driver inside the guest, or temporarily switch the NIC model to Intel E1000 to get online and install the proper driver from there.
Troubleshooting
If the VM won't start at all, click on it and check the Task History — Proxmox logs the exact error, and it's usually more specific than the vague popup notification. A common one is "not enough memory," which means the host doesn't have enough free RAM for everything you've allocated across all running VMs combined. Either shut down something else or lower this VM's memory.
If the installer freezes partway through, it's worth trying OVMF/UEFI instead of SeaBIOS, or vice versa — some ISOs are picky about which firmware they expect, particularly newer Windows images and a handful of niche Linux distros.
Slow disk performance during install is almost always a bus setting problem. Double check you're on VirtIO SCSI and not IDE. The difference isn't subtle — IDE emulation is noticeably slower for anything beyond a tiny test VM.
Best Practices
- Name every VM something meaningful the moment you create it. Renaming later doesn't rename the underlying disk file, and things get confusing fast.
- Install the QEMU Guest Agent inside the guest OS as soon as the install finishes (
apt install qemu-guest-agenton Debian/Ubuntu). It makes shutdowns cleaner and shows you the VM's real IP address right in the Proxmox summary panel. - Take a snapshot before any risky change — a kernel upgrade, a config rewrite, whatever. It costs nothing and saves you when something breaks at 11pm.
- Don't allocate every last GB of host RAM across your VMs. Leave a comfortable buffer for the host itself, or things get sluggish under load.
- Stick with VirtIO devices by default. Only fall back to emulated hardware (IDE, E1000) when a specific guest OS genuinely can't use VirtIO.
Frequently Asked Questions
Do I need a second server to try Proxmox VE?
No. A single machine — even a used mini PC or an old desktop — is enough to run several VMs at once, as long as it has decent RAM and a CPU with virtualization extensions enabled in the BIOS.
Can I resize the VM's disk after creation?
Yes. Select the disk under the VM's Hardware tab and click Resize. You'll then need to grow the partition and filesystem inside the guest OS separately — Proxmox only grows the underlying virtual disk.
What's the difference between a VM and an LXC container?
A VM runs its own full kernel and can run any guest OS. An LXC container shares the Proxmox host's kernel and can only run Linux, but it starts faster and uses less overhead. Use a VM when you need OS flexibility or strong isolation; use LXC when you just need a lightweight Linux service.
Why is my VM's console so laggy?
The built-in noVNC console isn't built for smooth video or gaming — it's meant for setup and troubleshooting. For everyday use, install an SSH server (Linux) or RDP (Windows) inside the guest and connect to that instead.
Is it safe to run production workloads on a single-node Proxmox setup?
You can, but a single node is still a single point of failure. Regular backups matter more here than in a cluster, since there's no automatic failover to another node if the hardware dies.
Conclusion
That's a full virtual machine, built from a blank storage pool to a running OS. The wizard looks intimidating with eight tabs staring back at you, but each one maps to a real, understandable piece of hardware — CPU, memory, a disk, a network card. Once you've done it once, the second VM takes about two minutes.
From here, a good next move is snapshotting this VM before you start experimenting with it, or trying an LXC container to feel out the difference between the two. Either way, you've got the foundation most Proxmox tutorials assume you already have.